Carol asks: How does Buzzfeed shoot their “Tasty” videos? Buzzfeed has done a fantastic job developing viral food prep videos. I’m looking to do similar type video and am curious, what are technical setups for these videos? (ie camera, lens, lighting) What happens in post-production?
Answer:
Equipment decisions really depend on your budget and the number of people on your team, as well as the complexity of the final result you are going for. A good cooking video doesn’t have to be particularly fancy in terms of shot composition – the most popular examples out there rely on one camera angle and carefully choreographed action.
At a minimum, you’ll need a camera, a tripod, a way of capturing clear audio without visible microphones, and solutions for lighting. Optional items include secondary cameras for b-roll or additional camera angles, and more microphones to capture the sizzles and pops of food being cooked.
Here are some fun facts on Buzzfeed’s Tasty videos:
- They produce two videos a day
- The “tasty” team of cooks meet weekly to discuss ideas
- The videos have accumulated billions of views
- Most of those views have come from Facebook
- Buzzfeed estimates that 1 in 4 Facebook users view a Tasty video once a month
The technical setup is pretty simple. Here’s some of the equipment shown in the video:
- Canon 7D /w Canon EF 100mm f/2.8L Macro IS USM Lens (not 100% sure on the lens, but this is what it appeared to be)
- TVLogic VFM-056WP 5.6″ Lightweight Compact Viewfinder Monitor
- Camera mounted on overhead on a truss system
- 2 light setup (Kino Flos?) on light stands with white diffusers
- Edited on Adobe Premiere
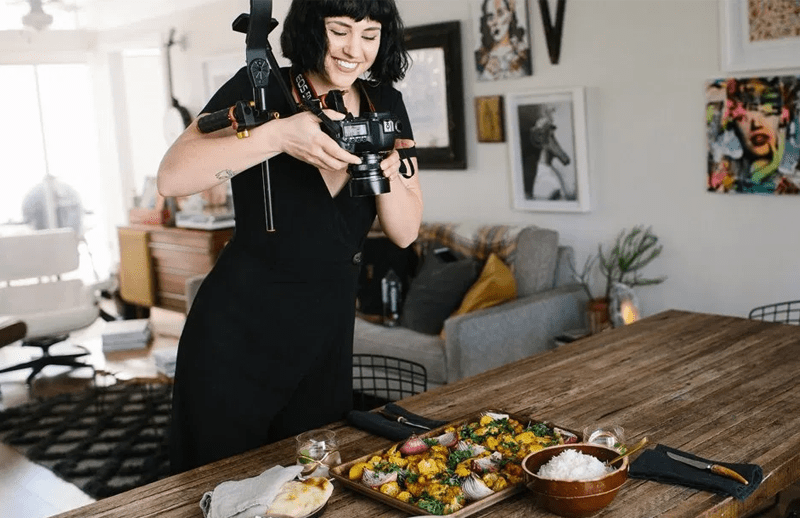
The right camera(s) to use depends on the shots you want to get. If you are using only fixed angles, and don’t require any zooming or shifts in the field of focus, you could get away with a smartphone so long as it’s capable of filming HD video. This solution has the advantage of being low cost and highly flexible in terms of camera positioning. However, the low quality of the built-in microphone and lack of manual controls or remote controls will introduce some difficulties into your creative process.
If you are looking to achieve more dynamic shots, with panning, zooming or changes to the field of focus, you’ll need at least one camera assistant, and possibly two cameras (one operated by the assistant, and one stationary on a tripod for b-roll) to make sure no key moments in the process are missed. This approach is more costly and requires more helping hands, but will likely be more efficient than if you are working by yourself with just one camera.
Lighting
There isn’t a great deal of difference between photographing food and filming it for a video. In that regard, to keep things looking as fresh and natural as possible, use daylight to light your shot. Some lights will look very unnatural in the way that they illuminate the scene, so the simplest thing to do is avoid the problem altogether and use natural daylight.
Struggling for light or have some deep shadows? No problem. Use large sheets of paper or card as a reflector to bounce light on to the scene. It’s best to purchase or configure a basic light kit. We recommend one with three lights – a key light, a fill light, and a backlight. If you don’t have much of a budget for purchasing a kit, you can still get great results with available light sources.
Frame Rate and Color
If you can I would suggest using a fast frame rate. A quick look on TV shows that many adverts show food being prepared in slow motion. This allows us to see exactly what is going on, and it adds a level of fascination. Try shooting at 50 or even 100fps to allow you to slow the footage down.
As you know by now, it is worth shooting footage as flat as possible. This gives you more tones to coloring your footage. Again, the current trend for food videos seems to be to record very natural, flat looking footage. However, if you are creating a recipe full of colour in a very bright surround, don’t be scared to turn up the saturation and make the colours really pop.
Alternatively, ask a friend with a particularly nice, open kitchen if you can borrow it for a day.Once you have your space all set, you’ll need to look at the different locations within the kitchen from the viewpoint of the audience. If you think about most cooking shows on TV, the chef is standing at an island with the background relatively far behind them. That’s because being right up against a wall will make the subject look like they’re part of a police lineup, and makes the kitchen look tiny.
To avoid that unwanted visual effect, try to create as much distance as possible between the subject and their background with your camera angles. This will help to focus attention on the cook and create a greater depth of field.
If you don’t have access to a huge kitchen, then it’s time to think creatively. Does the majority of filming even have to take place in the kitchen? It’s not strictly necessary to be there for activities that don’t involve kitchen equipment you can’t easily move around, like the stove. If you have a nice table or a room that would work well on camera, it’s worth giving these a try for the majority of your shots.
The Shots You Need to Get
Although you might think the chef is the star of the show, the tasty food should really be front and center. Use close-ups, slow zooms, and the field of focus to give your viewers a visual feast.
If you can catch an awe-inspiring moment, like a sauce dribbling down the side of a steak, a flambé bursting into blue flames, or a close-up of intricate cake decorations taking shape, you’ll have a real winner on your hands.
Importantly, don’t worry if the cooking process itself looks less than perfect, so long as the end result is enticing. If a few onions jumped out of the pan, or you spilled a little flour on the counter, it’ll only make it seem more relatable and achievable to your viewers.
Post Production
The editing process presents an excellent opportunity to include additional information in the form of a voiceover or text. Both are especially useful when it comes to communicating measurements of ingredients, or troubleshooting tips.
Thanks to sproutvideo.com for this answer!